According to experts, the process of digital tattoo design is often faster and more accurate than the hand-drawn tattoo process and design. Procreate’s all-in-one capabilities make it ideal for artists to draw designs on their iPads.
Creating stencils digitally, presenting work to clients, and quickly adjusting designs during consultations are all made easier with digital design. Having difficulty using Procreate, however, can frustrate you when learning how to create art digitally.
Make Your iPad Feel Like Paper
You may notice that the iPad screen is quite slippery, especially if you’re used to drawing on thicker sketchbooks. The matte screen protector on your iPad will give the screen an appearance similar to paper. The best site for tattoo practising visit Tattooing101.
1. Getting Started with Procreate: Essential Tools and Setup
It’s important to familiarize yourself with Procreate’s interface before diving into design. First step: download the Procreate app from the store and install it on your iPad. Make sure that you have an Apple Pencil for perfect control of the screen.
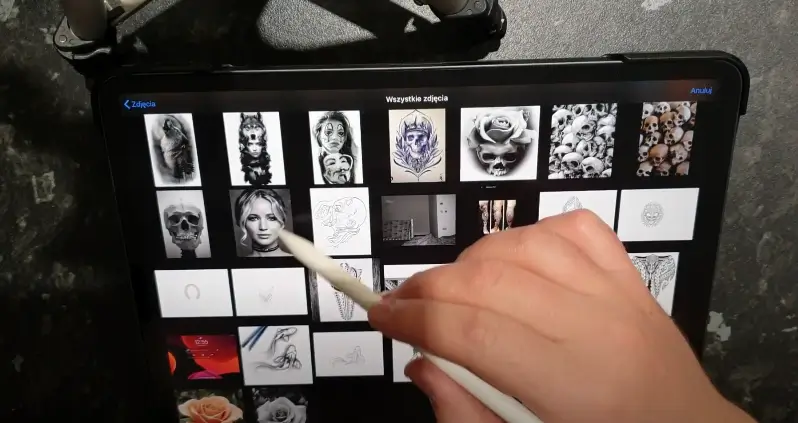
- Canvas Setup: Create a new canvas with dimensions that match the size of the tattoo you plan to design. You can always resize later, but starting with the right dimensions helps maintain the quality of your design.
- Brush Library: Explore Procreate’s huge brush library. For tattoo designs, you might want to start with inking brushes, which mimic the effect of real tattoo needles.
2. Understanding Layers: Your Best Friend in Tattoo Design
Procreate’s standout feature is its use of layers. Layers allow you to work on different elements of your design independently without affecting other parts.
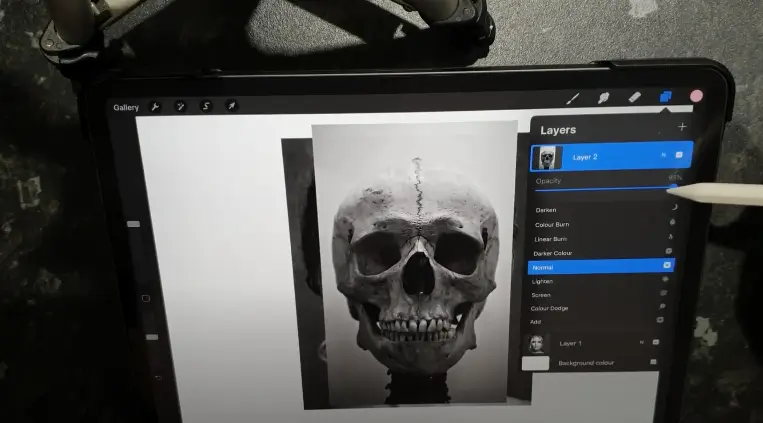
- Creating Layers: Start by sketching the basic outline of your tattoo on one layer. You need to use extra layers for shading, colouring, and adding details.
- Blending Modes: To find out how your layers interact, experiment with different blending modes. Your designs can benefit from this if you want to create realistic shading and depth.
3. Sketching Your Tattoo Design
Creating designs in Procreate is straightforward, but you can make them stand out with these tips.
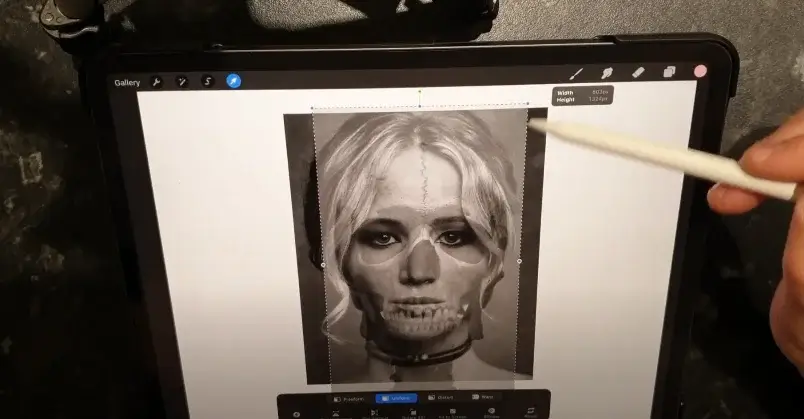
- Grid Tool: You can use the grid tool to maintain symmetry and proportion in your design. This is particularly useful for complicated patterns or symmetrical tattoos.
- QuickShape: The QuickShape feature automatically straightens your lines and shapes. This is invaluable for creating perfect circles, squares, and other geometric elements.
4. Shading Techniques in Procreate
Shading is where your tattoo design starts to gain depth and be realistic. Procreate offers different tools that make shading easier and more effective.
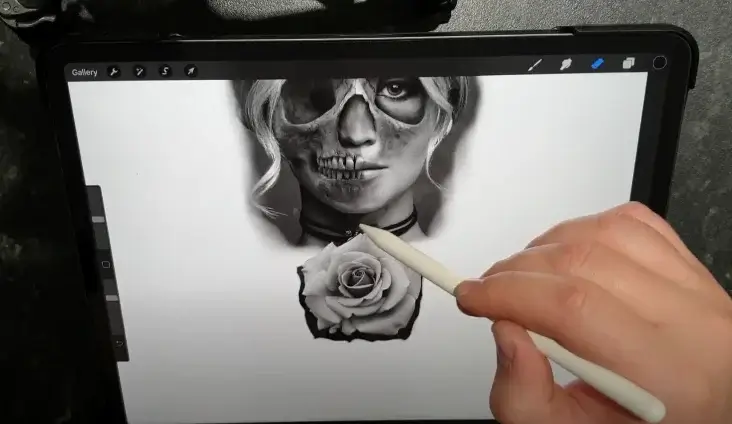
- Brush Opacity: Lower the opacity of your brush to create subtle gradients. This technique is perfect for soft shading and smooth transitions.
- Smudge Tool: Use the smudge tool to blend colors and shades smoothly. This can help achieve a more realistic look, especially in portrait tattoos.
5. Coloring Your Tattoo Design: Choosing the Right Palette
Colour is the basic and important part of any tattoo design. Procreate app offers you an outstanding colour wheel and different types of colour palettes that you can customize to suit your needs.
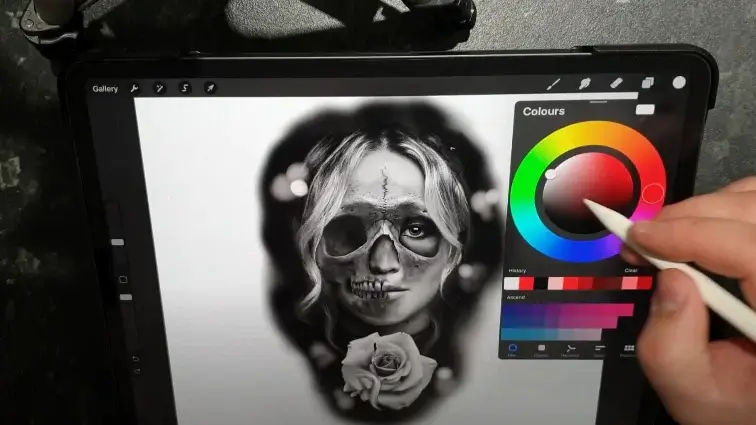
- Colour Drop: Use the Color Drop feature to fill areas with colour quickly. Just easily drag the favourite colour from the top right corner of the screen and drop it onto the wanted area.
- Alpha Lock: You can enable Alpha Lock on a layer to colour just within existing shapes. This will stop you from colouring outside the lines, keeping your design clean and professional.
6. Adding Texture and Effects
It Enhances the Realism of Your Tattoo Design. Outstanding effects and textures can add a unique touch to your tattoo designs. The Procreate app offers you different filters and brushes to achieve different textures.
- Texture Brushes: You can use texture brushes to simulate the look of skin, fabric, or other surfaces. This adds an extra layer of reality to your design.
- Gaussian Blur: To soften edges and create a more natural look, use the Gaussian Blur filter. The use of this technique is particularly useful for creating depth or providing a background element to an image.
7. Refining Your Design: Tips for Polishing Your Tattoo Artwork
Once your design is complete, take the time to refine it. By taking this step, you will ensure that your final design is polished and professional.
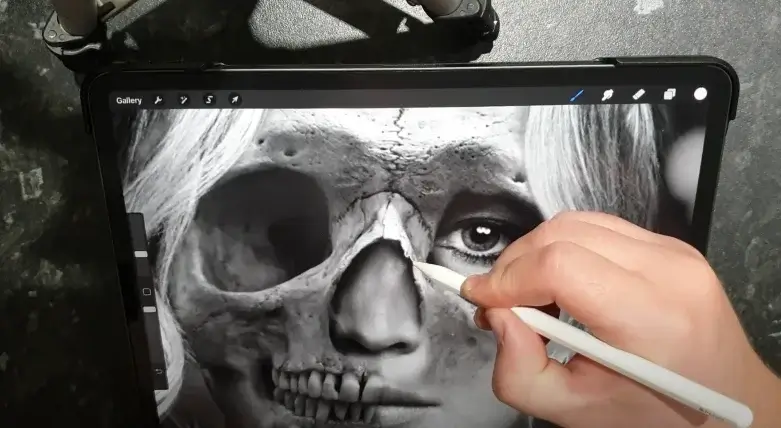
- Zoom In for Details: Add more details and correct any imperfections in your design with the help of the zoom-in feature. Procreate allows you to zoom in importantly, making it easy to work on complex details.
- Use References: Make sure your design is accurate by importing reference images into Procreate. Your iPad can have a split-screen feature that allows you to keep the reference image on a separate layer.
8. Exporting and Sharing Your Tattoo Design: Ready for the Studio
Exporting and sharing your design is the next step. You can explore the various export options are available in Procreate, allowing you to save your design in a variety of formats.
- Export Formats: You can save your design as a PSD, PNG, or JPEG file, depending on your needs. For printing, a high-resolution PNG is often the best choice.
- Sharing Options: You can share your design directly from Procreate via email, social media, or cloud services. This makes it easy to collaborate with clients or share your portfolio online.
9. Procreate Tips for Tattoo Artists: Maximizing Your Workflow
Getting the most out of Procreate means learning a few tricks that will speed up your workflow and improve your designs.
- Custom Brushes: These brushes simulate tattoo needles and can be created or imported. This can help you create designs that closely resemble the final tattoo.
- Time-Lapse Videos: Procreate automatically records your drawing process. Share time-lapse videos of your designs with clients or on social media to showcase your skills.
Final Verdict: Why Procreate is the Ultimate Tool for Tattoo Design
Tattoo artists are now able to design tattoos with the help of Procreate. Procreate an easy-to-use interface and powerful features, it offers a huge variety of customization options, that is why it is a favourite app for tattoo designers. It doesn’t matter if you want to design complex sleeves or minimalist tattoos, Procreate gives you access to the tools you need. Once you read this article you will be able to make design digitally simple. Follow Tattoorecover for more updates.
4 thoughts on “How to Use Procreate for Tattoo Design: A Complete Guide”