Once you begin tattooing or simply want to learn more about the tattooing process, understanding “How To Use Transfer Paper Tattoo” is quite important. Transfer paper, often known as stencil paper, is essential in tattooing, providing precision and ensuring that your designs are inked properly.
This detailed and helpful guide will walk you through everything you need to know about transfer paper for tattoos. It includes everything from the basics to expert tips and common mistakes to avoid.
Key Takeaways:
- You will use top-quality tattoo transfer paper to make sure clear and accurate designs.
- Choose the right type of transfer paper—thermal for detailed designs and hectograph for manual tracing.
- Smooth stencil transfer requires proper skin preparation.
- You can take your time applying the stencil and allow it to dry completely before tattooing.
If you invest in the right tools and follow the best practices, you can create tattoos that stand out and are professional-looking.
What Is Tattoo Transfer Paper?
Transfer paper for tattoos is a type of paper that allows you to transfer a tattoo design onto the skin. It acts as a temporary guideline for the tattoo artist, ensuring the design’s accuracy before the inking process begins.
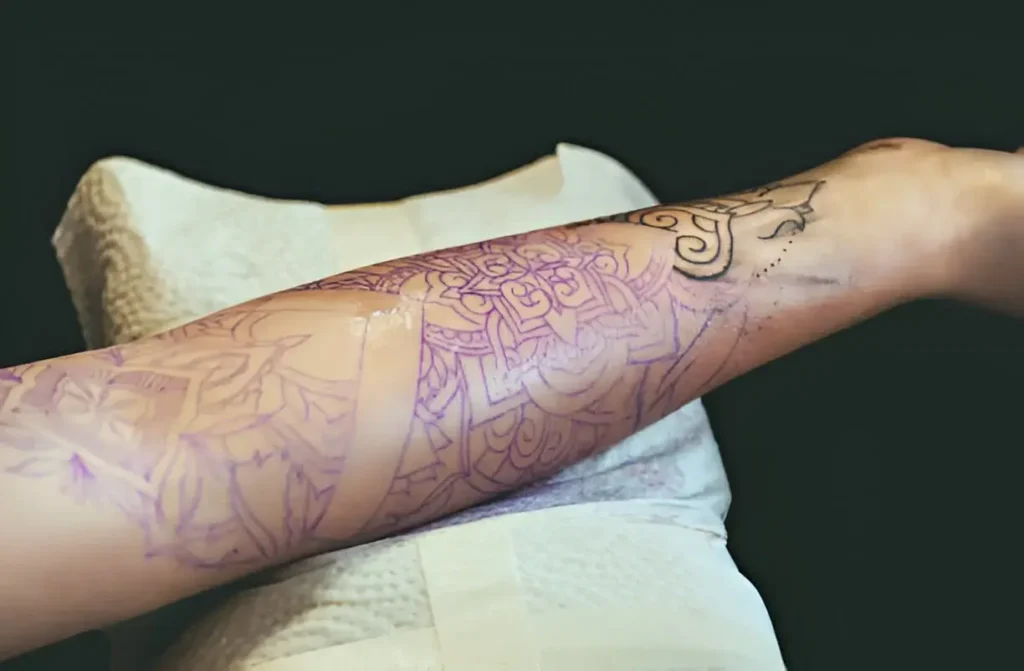
Tattooing uses two types of transfer paper:
- Thermal Transfer Paper: Used with a thermal printer, it’s excellent for detailed designs.
- Hectograph (Handmade) Transfer Paper: The more manual approach, suitable for simple designs.
Why Use Transfer Paper?
- You need to make sure accuracy in the final tattoo design.
- Reduces the chance of errors by providing clear guidelines.
- It saves the artist time by allowing him or her to concentrate on inking rather than sketching directly on the skin.
- Allows the client to preview the design’s placement before committing to ink.
Types of Tattoo Transfer Paper
- Thermal Transfer Paper: You need to use heat to transfer the tattoo design onto the skin. Compatible with thermal printers.
- Hectograph (Handmade) Transfer Paper: Traditional hand tracing is an alternative to electronic transfers.
Materials You’ll Need
Do you want to use tattoo transfer paper properly? You need to make sure you have the following materials ready:
- Tattoo design printed or sketched
- Thermal Transfer Paper or Hectograph Transfer Paper
- Transfer machine (for thermal paper)
- Stencil transfer gel (like Stencil Stuff or Dettol) for transferring the design onto the skin
- Pair of scissors
- Pen or stylus (for hectograph paper)
- Clean towel or cloth
How To Use Tattoo Transfer Paper With Printer?
Printing tattoo stencils from tattoo transfer paper is a simple way to create precise tattoos, especially for complex designs. Transferring detailed designs onto the skin quickly and accurately is possible with the right tools and techniques. Follow this step-by-step guide to help you use tattoo transfer paper with a printer:
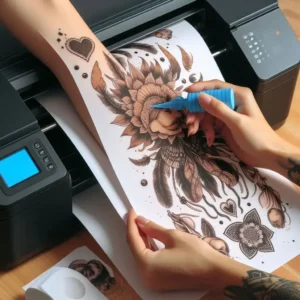
What You’ll Need
Prepare the following materials before you begin:
- Thermal Tattoo Transfer Paper (ideal for use with a thermal printer)
- Thermal Printer or Regular Inkjet Printer (for specific kinds of transfer paper).
- Tattoo design saved as an image or PDF
- Stencil transfer gel (like Stencil Stuff) to help the design stick to the skin
- Clean towel or cloth
- Scissors
How To Use Transfer Paper Tattoo Step By Step
Detailed instructions are provided below to ensure you correctly transfer your tattoo design:
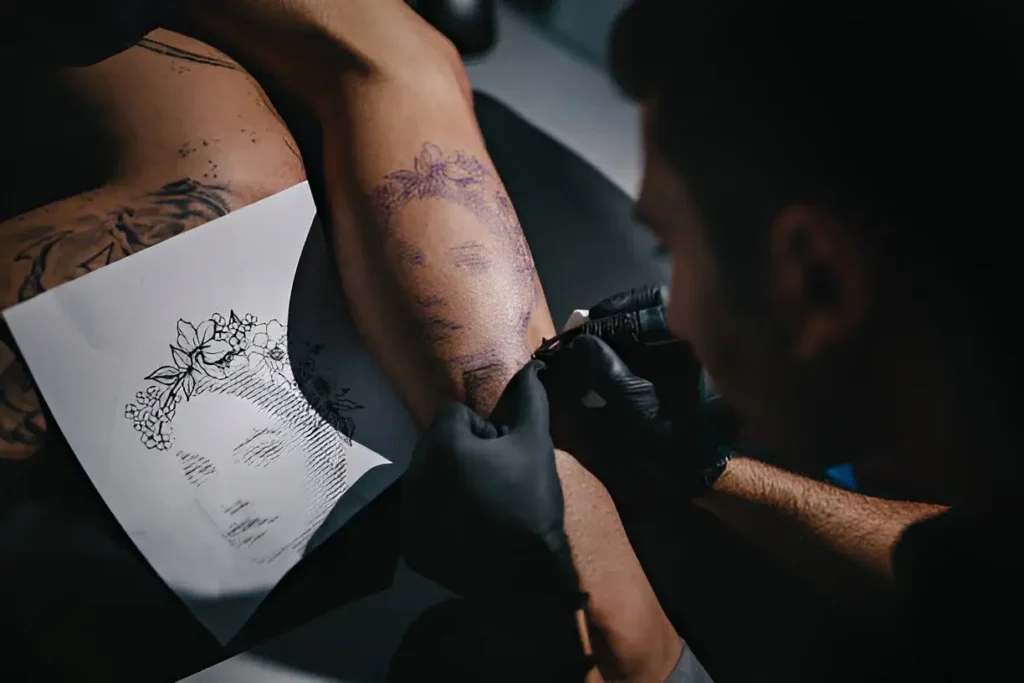
Step 1: Prepare the Design
- You need to print or create your tattoo design. To get great results, we recommend you use black tattoo ink to make the lines clear and visible.
- The tattoo design should be adjusted to fit the area that will be tattooed.
Step 2: Choose the Right Transfer Paper
- Print detailed tattoo designs on Thermal Transfer Paper if you have a thermal printer.
- Do you have another plan? you can trace the tattoo design manually. Use the Hectograph Transfer Paper.
Step 3: Transfer the Design to the Paper
- Thermal paper: Insert the paper into the transfer machine with the design facing down. Thermal paper will be printed with the design copied by the machine.
- Hectograph paper: Place the design over the hectograph paper and trace the lines with a stylus or pen. Press down firmly for a clear stencil.
Step 4: Cut Out the Design
- Ensure that any excess paper is removed from the stencil’s edges. Placement will be easier if you leave a small margin.
Step 5: Prepare the Skin
- You will clean the tattoo area skin with water and soap, followed by a disinfectant. Shave off any hair to make sure a smooth surface.
- Stencil transfer gel should be applied evenly to the skin. Stencils adhere better to skin this way; they won’t smudge.
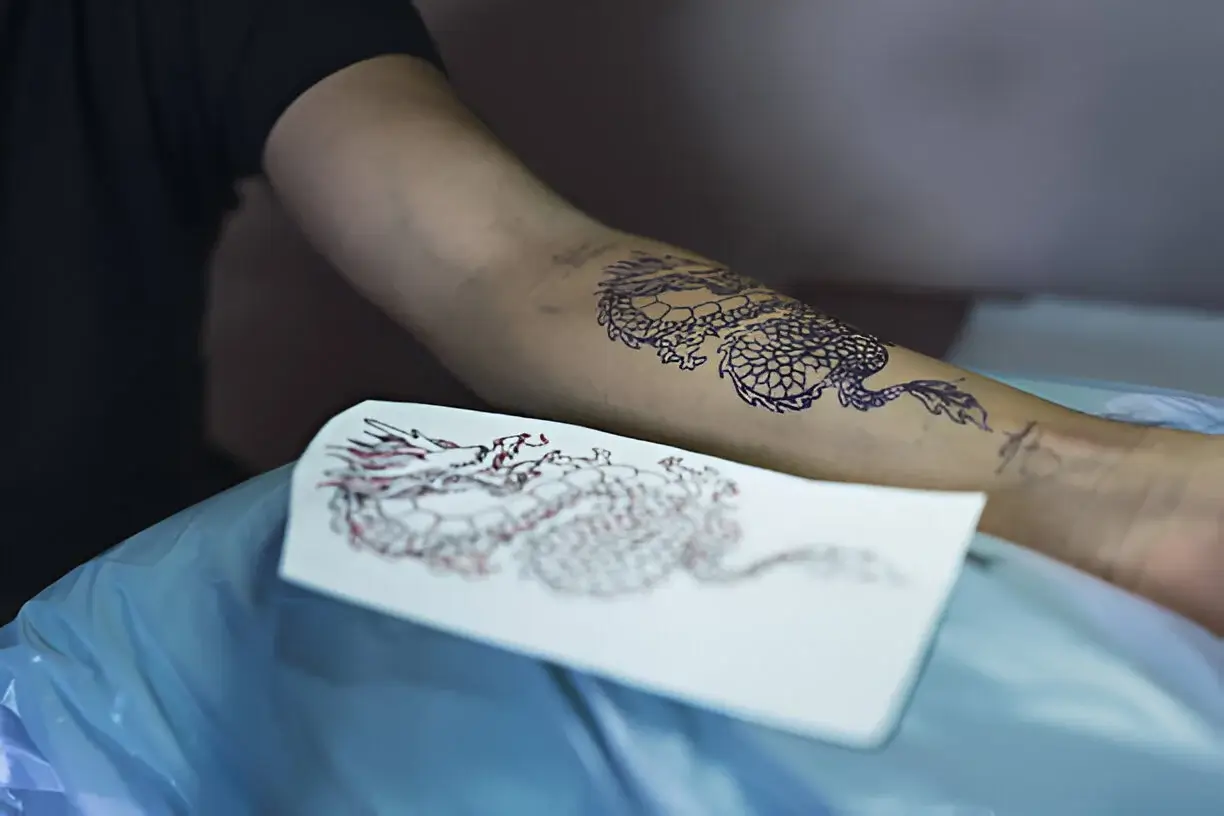
Step 6: Apply the Stencil
- Prepare the area for the transfer paper and place it there. The entire design must be transferred evenly with a gentle but firm press.
- You can check the transfer of design by peeling back the paper slowly. You can repeat this process if the print is too faint.
Step 7: Allow the Stencil to Dry
- Allow the stencil to dry for a few minutes. This stops the ink from smudging when you begin tattooing.
- Maintaining stencil clarity requires you not to touch or stretch the skin in this area.
Extra Tip: You can design different kinds of tattoo ideas including Fox tattoo designs, Octopus tattoo designs, Butterfly tattoo designs, Wolf tattoo designs, Palm tree tattoo designs, Father and son tattoo designs, and a lot more designs.
Professional Tips for Using Transfer Paper Effectively
- The stencil should always be transferred with a high-quality stencil transfer gel to ensure that it remains crisp for a long time.
- You need to adjust the machine settings for the thickness of thermal paper if you are using it.
- The stencil should be applied firmly, but not so hard that it causes the design to be distorted.
- Prepare a backup stencil in case the first application doesn’t go well.
- Ensure the stencil does not cause an allergic reaction by testing it on a small patch of skin if the client has sensitive skin.
Creating Tattoo Stencils By Hand
Tattoo stencils are traditionally drawn by hand, which is an “old-school” method. The advantage of this option is that it helps the artist to build muscle memory before attempting to tattoo the design.
What You Will Need:
- White paper is used to print your design
- Pencil
- Pen
- Thermographic tattoo transfer paper
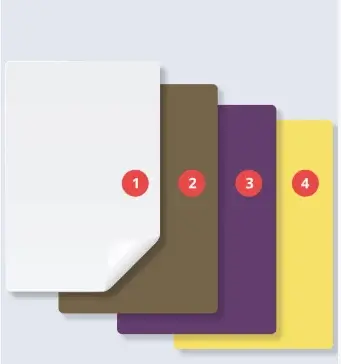
The transfer paper packet consists of the following pieces:
- The design will be applied to this white master sheet
- Brown protective sheet prevents carbon from getting on the master sheet.
- The “ink” layer is purple carbon paper.
- The bottom yellow layer protects carbon paper and ensures its stability. This bottom sheet will not appear on 3-layer hand stencil paper. But will appear on 4-layer thermal printing paper.
Common Mistakes to Avoid
- Overuse of Transfer Gel: Excessive use of transfer gel can blur stencils. Don’t use more than what is necessary to cover the area lightly.
- Not Cleaning the Skin Properly: Skin must be properly cleaned and shaved for stencils to adhere properly.
- Rushing the Process: Allow the stencil to dry completely before beginning to tattoo. Smudging can happen when you rush.
- Using Poor Quality Paper: It will be the reason for unclear design if you want cheap transfer paper. You need to invest in high-quality transfer paper for the best results.
What to Do After Stencil Application?
Once the stencil is applied, make sure to:
- It is best to start with lighter strokes to ensure accuracy. It’s best to start with light, thin lines so that you can correct any small mistakes before darkening them.
- Work systematically through the stencil lines, following them precisely.
- It is best to avoid wiping the area too much before tattooing to keep the stencil lines intact.
FAQs
1. Can I use regular printer paper for tattoo stencils?
A. The answer is no. Regular printer paper does not have the special properties that transfer paper does. It won’t adhere to the skin properly, making it unsuitable for tattoo stencils.
2. How do I make my stencil last longer during the tattoo?
A. The inking process should be conducted using a high-quality transfer gel, allowing it to dry completely, and avoiding excessive wiping.
3. Can I reuse a stencil?
A. It is not recommended to reuse stencils more than once to ensure hygiene and clarity.
4. Is it necessary to use transfer gel?
A. Using a transfer gel is important for keeping the stencil from smudging on the skin.
Final Thoughts
The use of transfer paper for tattooing is a fundamental skill, regardless of whether the artist is a beginner or a professional. It not only makes sure of accuracy but also enhances the quality of the final tattoo. By keeping these tips in mind and avoiding common mistakes, stencil transfer can be mastered and stunning tattoos can be created every time. Do you want premium information about tattoos? Then follow the tattoo recover website.

1 thought on “7 Best Step How To Use Transfer Paper Tattoo”